
Using Preview to Plan Your Instagram Content
I’ve been using Instagram for my business since 2017, and I quickly realized that planning out in advance can be SUPER helpful if you are obsessed with achieving a beautiful grid layout. I know that if I don’t plan out my grid for at least week’s worth of content, I have a really hard time making my grid look beautiful and appealing to my ideal audience.
So when I learned about Instagram schedulers and planners I was super excited! I’ve used a few different apps in the past but the one I’m currently using is called Preview. Whats great about preview is it is FREE for a single account. Whats not so great about Preview is it doesn’t post FOR YOU on instagram. You can plan and schedule your posts, but you will still have to actually post it to Instagram directly. However, for the price (FREE for one account), its a great app to help you plan your ideal grid.
Before I show you how to use the App, I want to just give you a few things to think about as you start to plan out your grid.
COLOR - the most beautiful grids usually have an overall color theme or tones which look beautiful together. Start thinking about what colors you use in your content regularly. You may be surprised that you tend to use certain colors exclusively or you may realize that you actually don’t have a set color theme (and thats okay!), but being aware of your current content or photographic style will help you plan.
CONTENT - if you are a photographer that has a lot of different genres you shoot try and sprinkle in those genres within your grid if in fact you are trying to market all genres. If you are looking to niche down, start thinking about leaving out the genres you want to shoot less of. Your audience will start seeing this shift and understand what you are focusing on. If you are a business that offers different services, similarly, sprinkle in that content throughout your grid. While you may not have a photographic way of showing different services, having your captions reflect that will help keep you on track. The key here is to make sure you are telling your audience what it is you do.
YOU - you do need to sprinkle some of yourself into your grid. I know, I know, many people hate being in front of the camera, but I will tell you your audience will love it. I used to never post photos of myself on my Instagram feed. But one day I posted this ridiculous photo of myself and I got the most engagement I ever had up to that point. Your audience wants to see YOU - to not only connect with you, but to make sure you aren’t just some creepy person in a dark room somewhere.
Okay, so here is a screen video of how to use preview. If you rather not watch, scroll down below for a step by step tutorial!
Step by Step
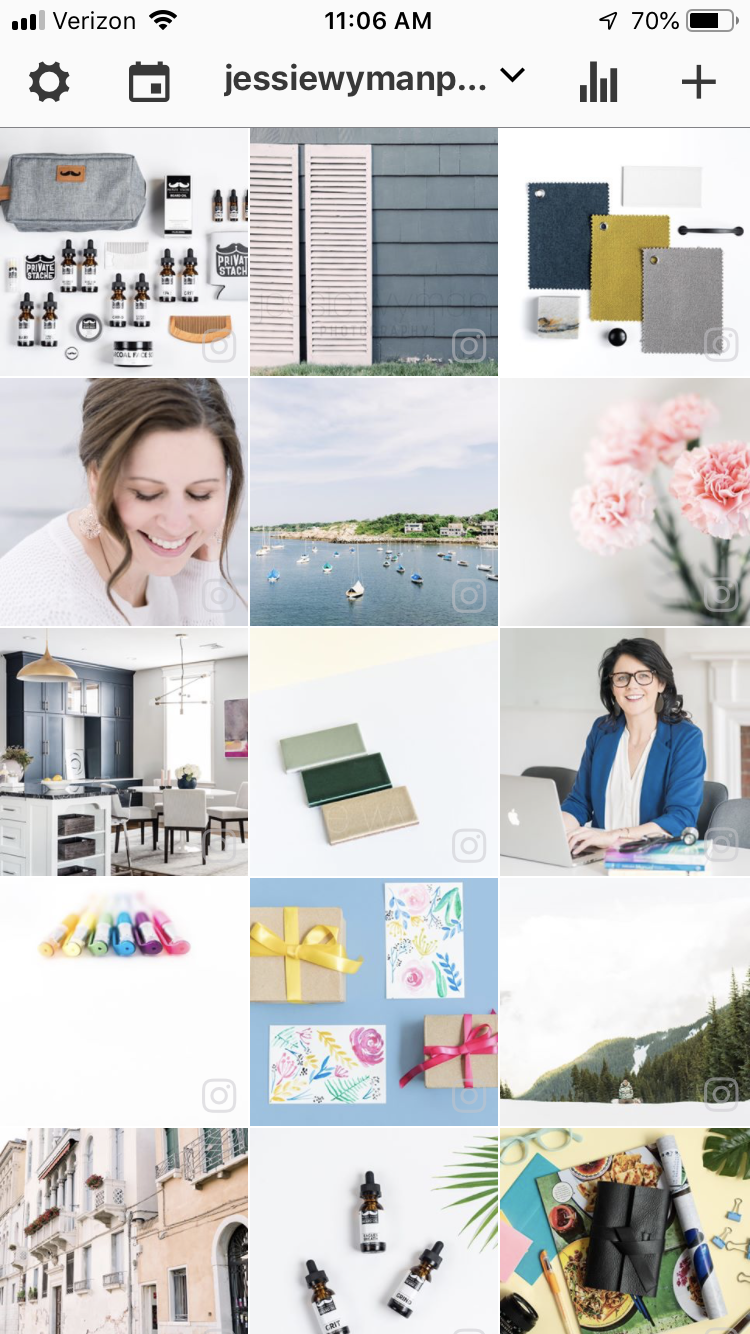
Load the Ap. If you are just starting out, it will be blank. But after having a few posted images you will see a handful of past posts. Posed images will be denoted by the little Instagram icon at the bottom right of the image.
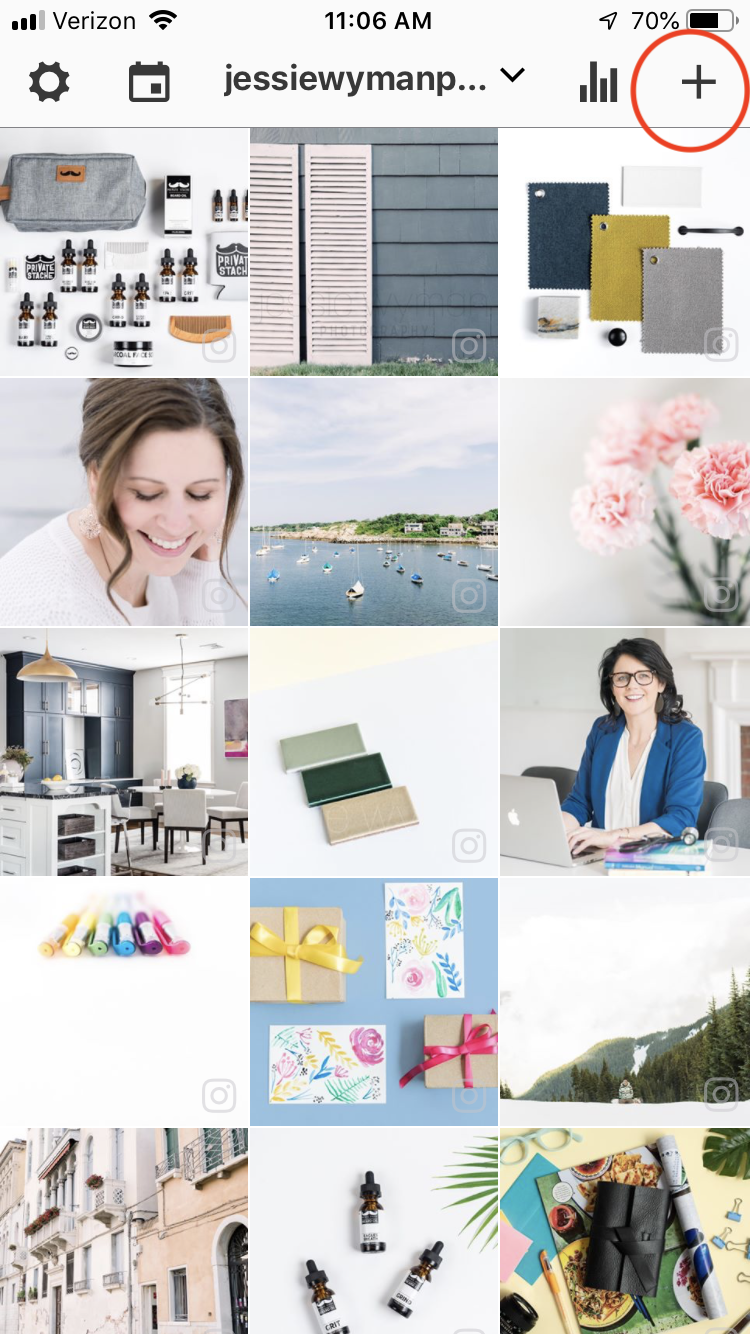
2. To add new photos, click plus sign (+) at the top right of the ap.
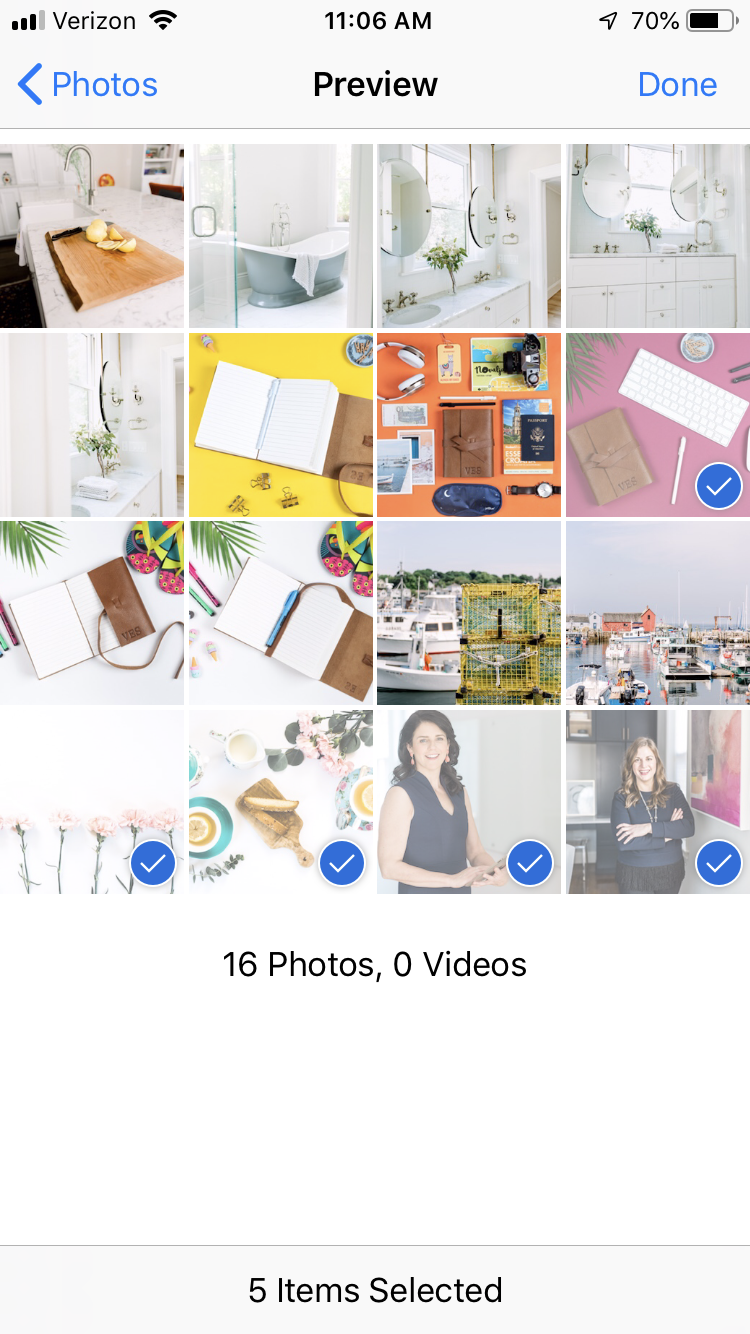
3. From there you will add photos from your phone.

4. I’ve selected a number of images that I think will go well with my existing grid. Don’t load too many images because it can be more overwhelming to plan for. I usually load around 4-6 images at a time.
5. The images will be brought into the ap, and from there you can rearrange them in a way that looks best!
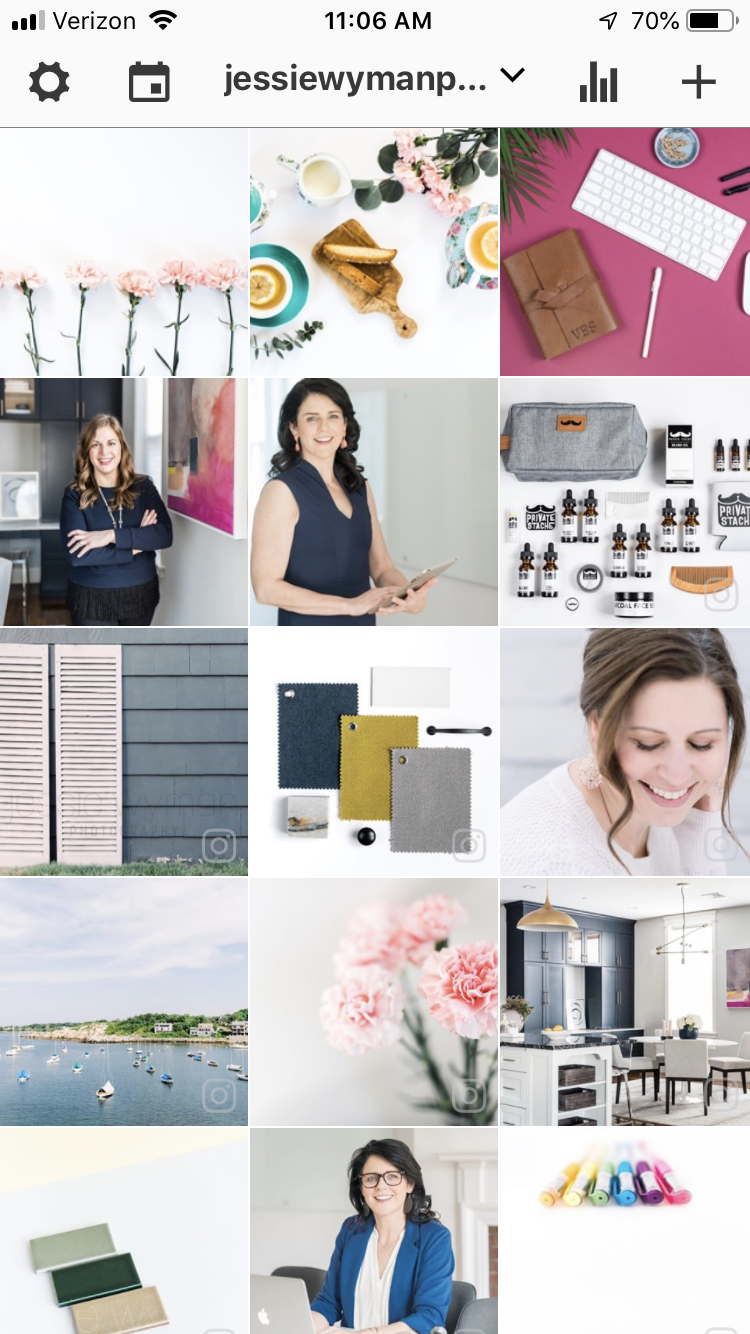
6. Since I was working with blues and pinks I brought in a mix of images using those colors. And since I have in the past had a mix of branding, stock, interior and product images, I made sure to add a variety to the ap. To make my grid ideal, I moved the flat lays that had white backgrounds to be alternating with images that have darker backgrounds.
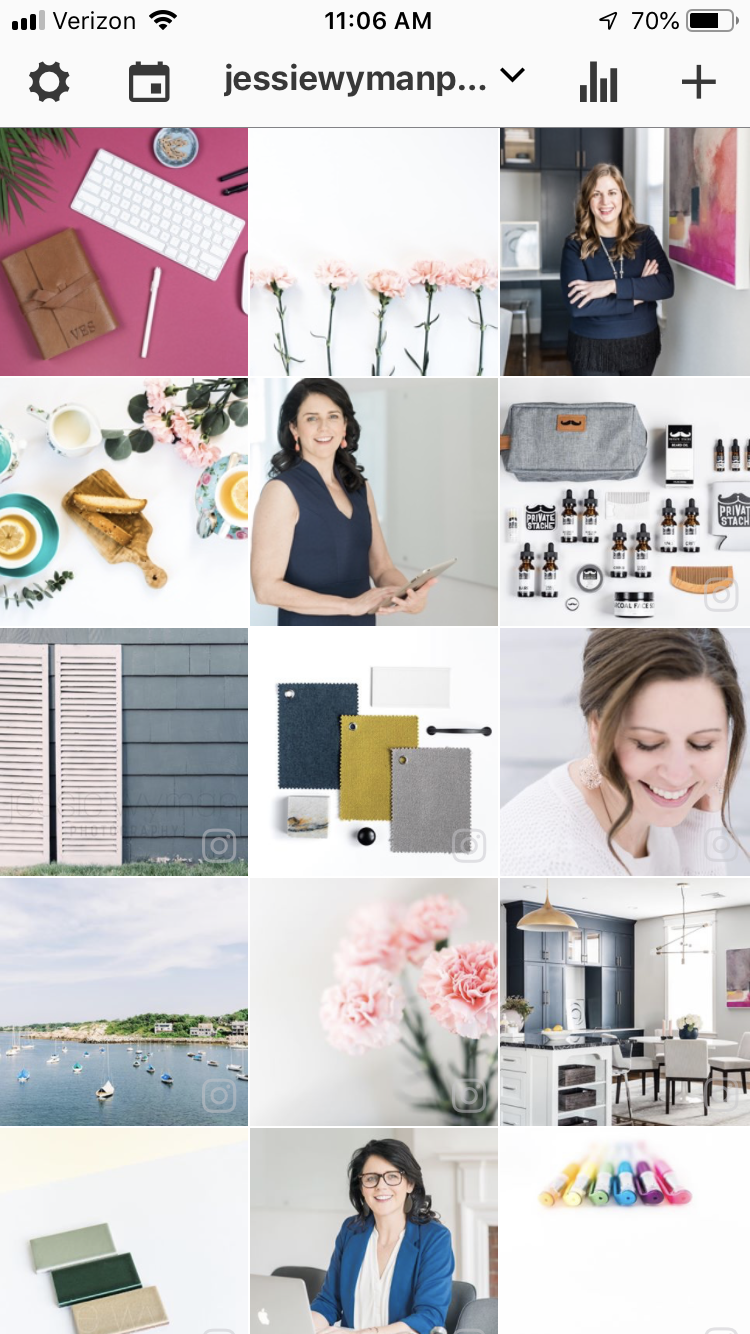
You can see how the pinks tie back to each-other, as well as the blues. The tea and lemon flat lay also ties back to some yellow from past images in my grid.
So there you have it! Have questions, comment below or get in touch!
Want to be on my email list to be notified of specials, tutorials, blog posts and more? Click here!