
Exposure Triangle | Part 2: ISO Explained
Today I’m here with Part 2 of the Exposure Triangle where I explain ISO. However, if you haven’t taken a look at my previous post, Part 1: Aperture, you can check it out here. There I explain Aperture and how it controls how light enters the camera AND how it controls depth of field.
But before I jump back into ISO, I just want to remind you all what the exposure triangle is.
Exposure Triangle
The best way to describe the exposure triangle is to think of it visually. Each side of the triangle will create your ‘exposure’ or ‘shot’.
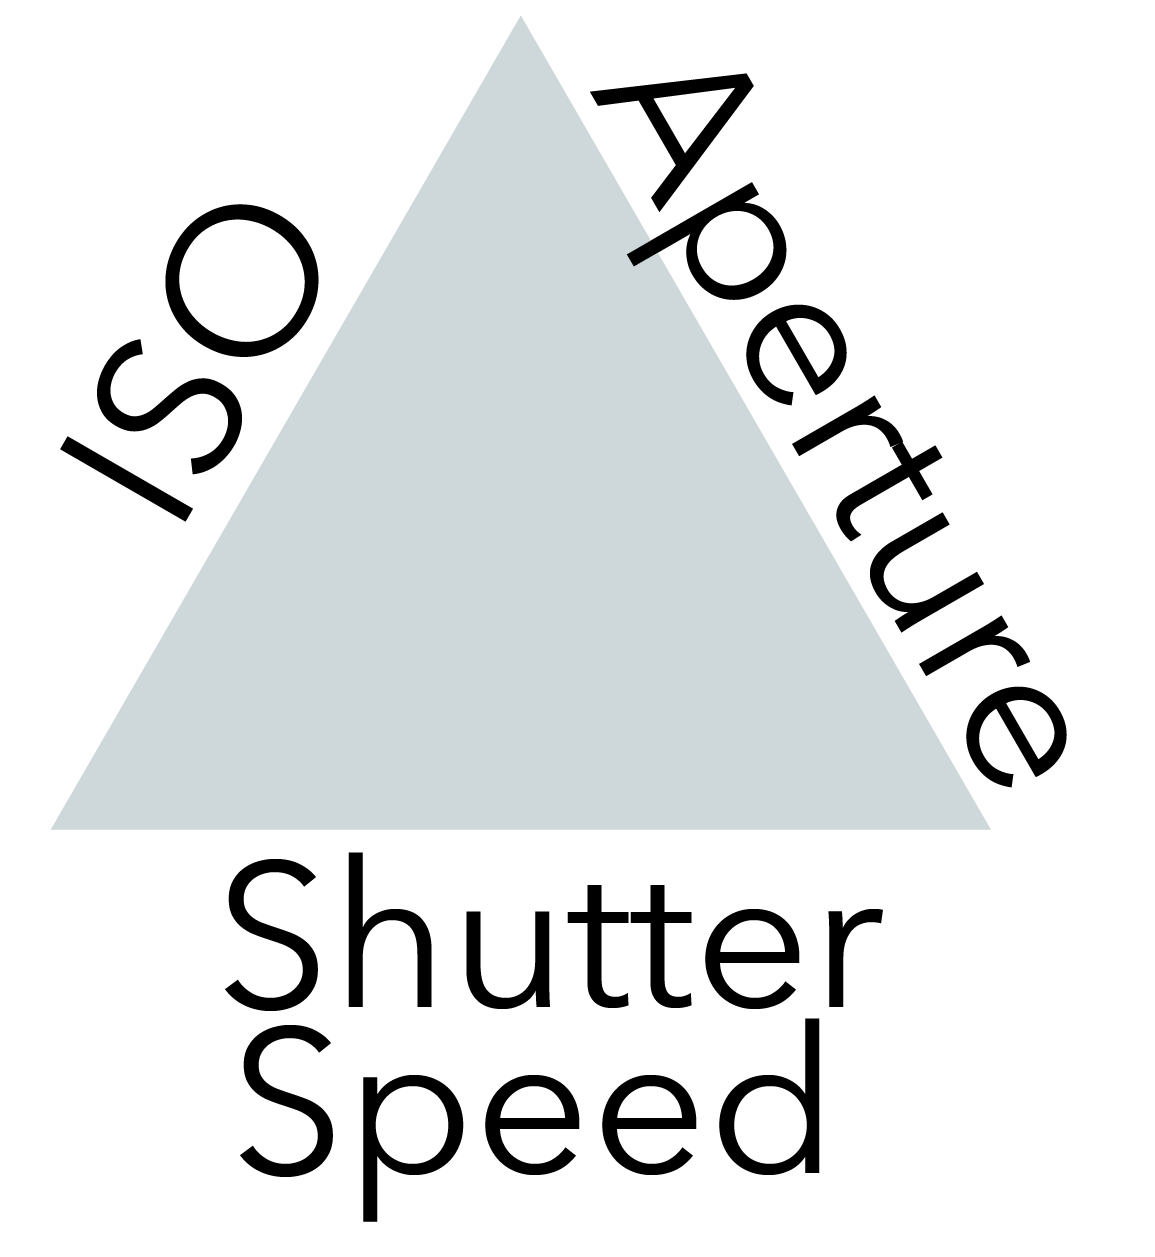
ISO, APERTURE and SHUTTER SPEED are the elements responsible for getting your shot. Setting them correctly is imperative for getting a good exposure. Each element is responsible for controlling light, each in their own way. So over the next month, I will be sharing bits on each side of the triangle.
Today we will be talking about ISO.
ISO is a measurement on how sensitive your camera sensor is to light. NOTE: if you are familiar with film cameras, ISO used to refer to the films sensitivity to light.
The camera’s sensor is the mechanism that picks up light when you press the shutter speed. The lower the ISO number the less sensitive it is to light. The higher the number, the more sensitive it will be to light.
Another way to think about ISO is by asking this question:
Is it bright out, cloudy out, or dark?
If its bright out, you do NOT need your camera to be extra sensitive to light so you can keep your ISO setting in the lower range (1—400).
If its cloudy out or lets say your are shooting at sunset or sunrise where there is less light, you may need to get more light into the camera, or make it MORE sensitive to light. If so, I would go with a range around (400-800 ISO).
If its really dark, or you are indoors you may have to increase your ISO quite a bit to allow more light into the camera. In this case you would use a high setting such as 800+.
The downside of high ISO
The downside of using a high ISO setting is you start to introduce noise into the image. Noise is a grainy effect that makes the image quality not so great. It can reduce sharpness and just overall create a poor result.

So its a balance when working with ISO. I always start with the lowest value I can. If I’m still having trouble getting enough light, I will increase it, but keeping in mind the level of noise I could be introducing.

ISO 320
Cropped

ISO 1600

Cropped
As you can see the image becomes more grainy with the higher ISO>
How to Control Your ISO
Depending on your cameras capabilities you may be able to control your ISO even if you are shooting in an automatic mode or semi-automatic mode. Keep in mind if you are shooting in an automatic mode and choose a low ISO in a dark sitation you may cause your camera to choose a low shutter speed. A slow shutter speed will result in blurry images. So if this is happening, increase your ISO incrementally until you find that good balance between no-blurry photos and least amount of grain.
The next post in this 3-part series will be learning about Shutter Speed!
Join my Photography 101 Facebook Group to Learn More!