
Exposure Triangle | Part 1: Aperture Explained
What the heck is aperture!?
If your new to photography you may have asked this very question. It is imperative you know what aperture is, how it relates to the exposure triangle and how to use it to get the shots you are hoping to get.
This blog post is part of a 3-part series explaining the elements of the ‘exposure triangle’. I’m starting with aperture because it is the most fun (in my opinion) and has a huge image on the look and feel of an image.
Without getting too deep in the weeds, I will briefly explain what the exposure triangle is. If you already know this, skip ahead.
Exposure Triangle
The best way to describe the exposure triangle is to think of it visually. Each side of the triangle will create your ‘exposure’ or ‘shot’.
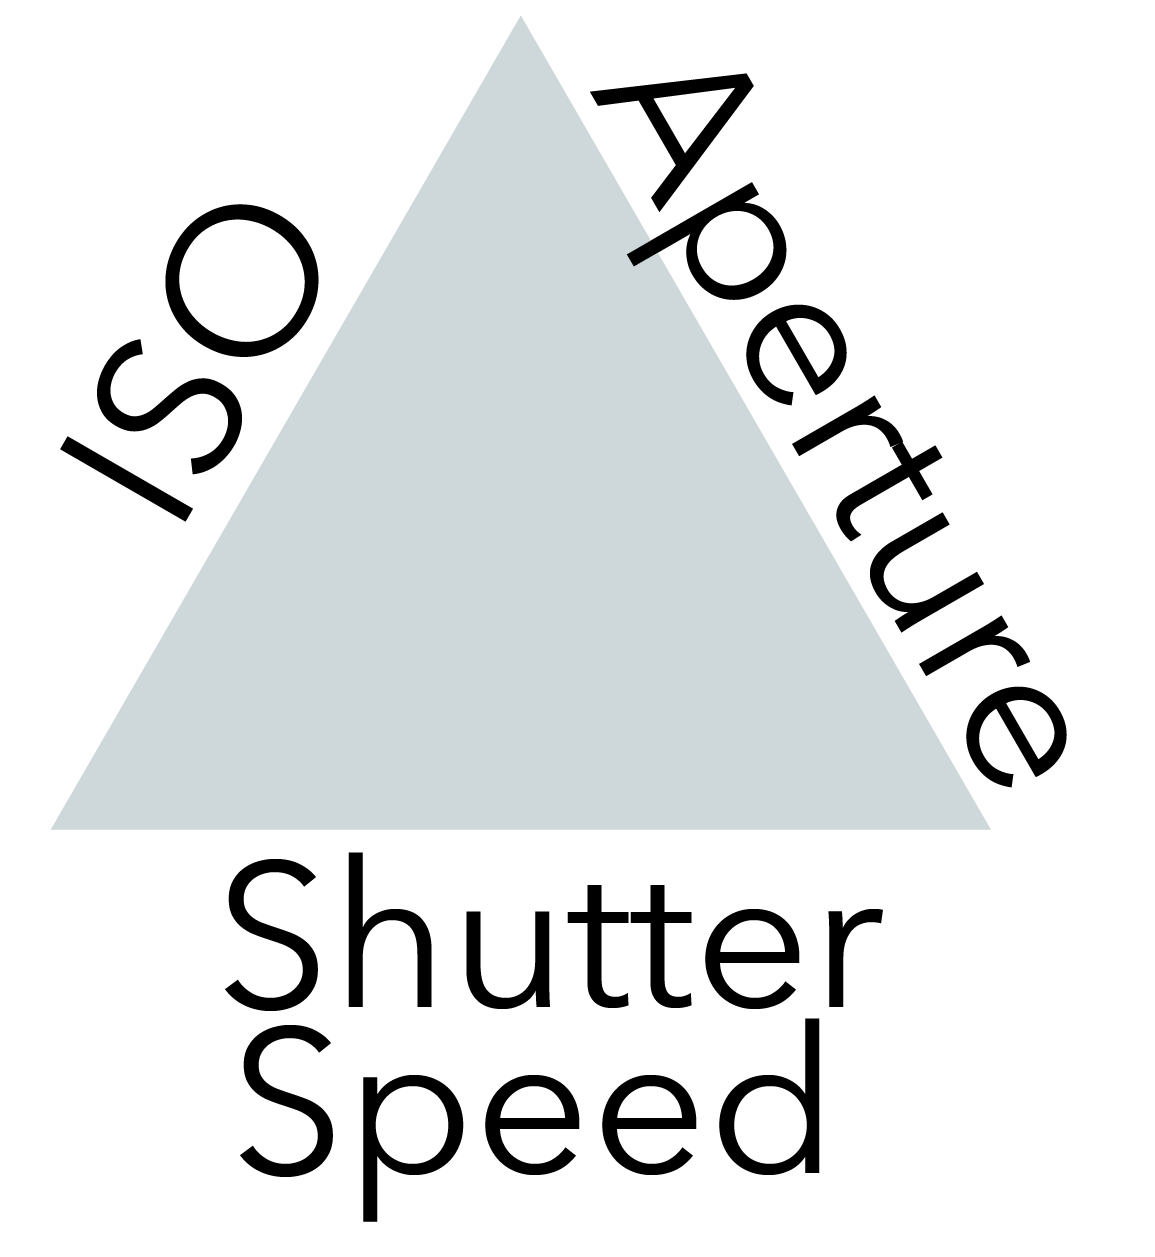
ISO, APERTURE and SHUTTER SPEED are the elements responsible for getting your shot. Setting them correctly is necessary for getting a good exposure. Each element is responsible for controlling light, each in their own way. So over the next month, I will be sharing bits on each side of the triangle.
Today we will be talking about Aperture.
The technical definition of aperture is
a space through which light passes in an optical or photographic instrument, especially the variable opening by which light enters a camera
(source: dictonary.com)
So if you’ve ever looked into your lens you may have seen a hole, and it may be bigger or smaller depending on your aperture setting.
However, when many photographers talk about aperture, they are likely referring to DEPTH OF FIELD. So not only does aperture control the amount of light that enters the camera, it is responsible for your DEPTH OF FIELD!
Depth of Field
To me, depth of field is one of the most important aspects of photography. This is because the depth of field can have HUGE impact on your photo. In portrait work, it can easily be used to separate your subject from the background. It can also be useful in still-life photography such as food.
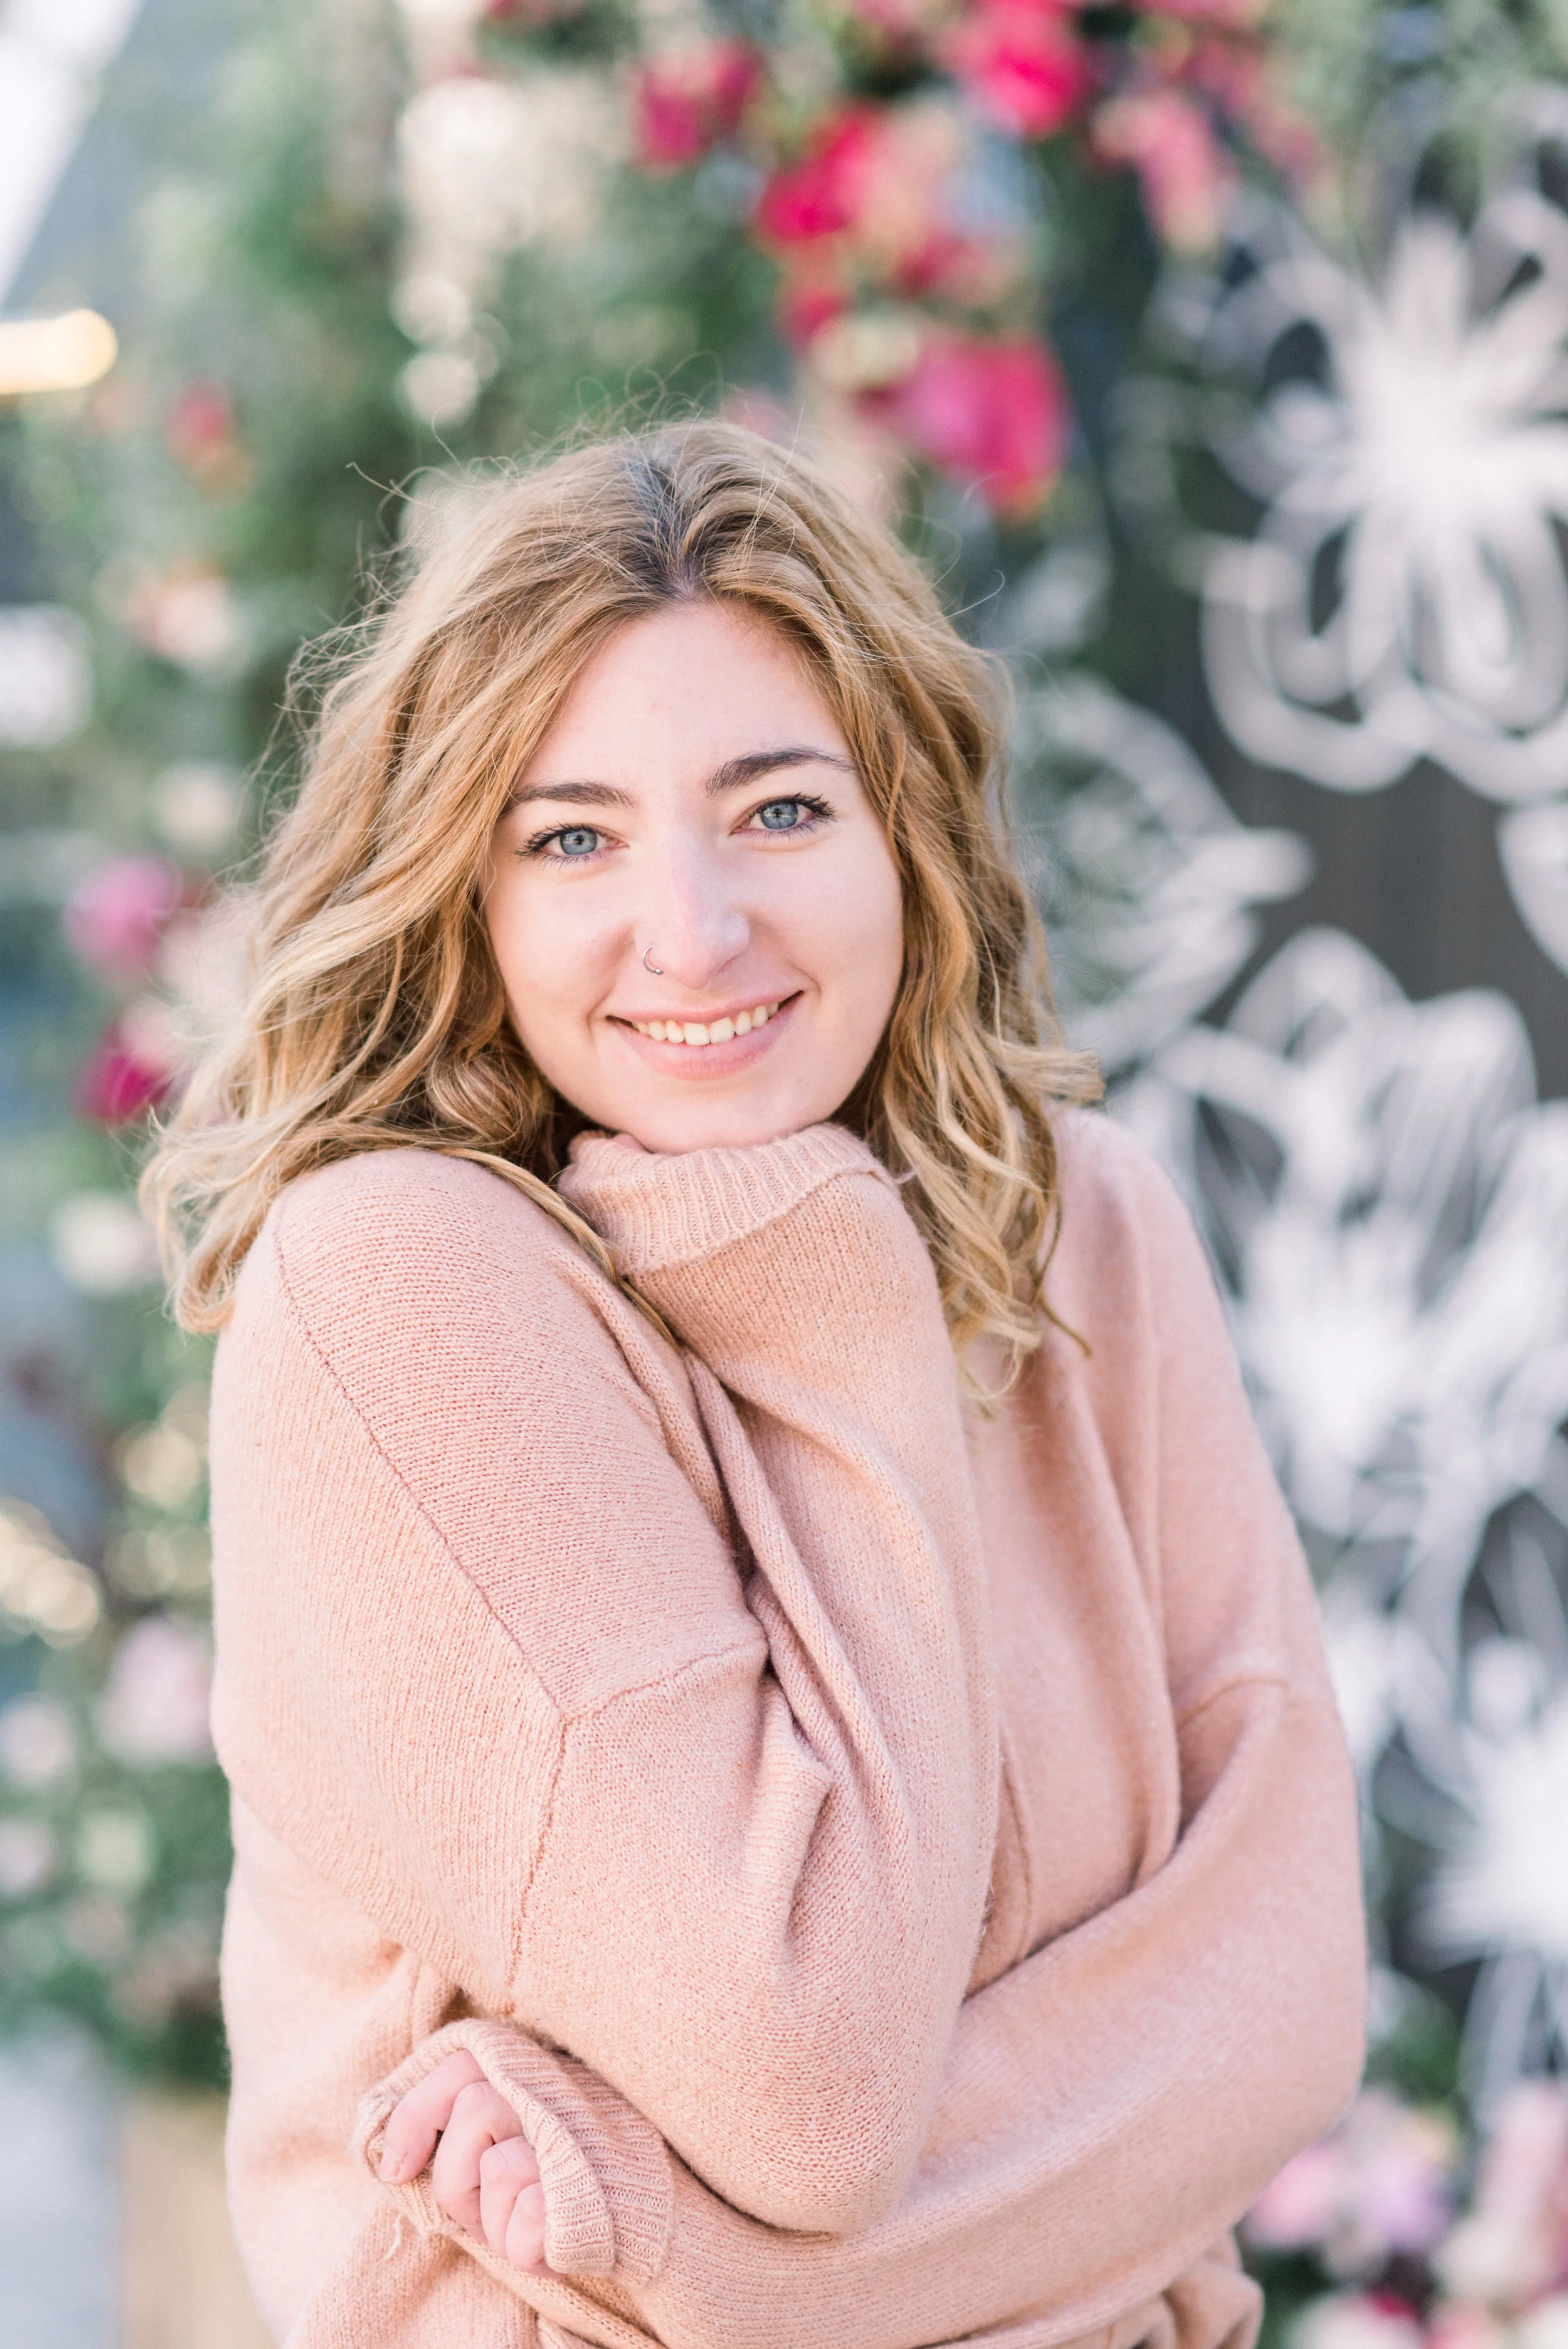

Aperture settings are known as the f-stop. The images above were taken at low f-stop numbers likely around f-2.8. The lower the number, the shallower depth of field. The higher the number, the less shallow depth of field.
The graphic below shows the relationship between aperture and depth of field.

To further illustrate this idea, i’ve taken a series of images at varying f-stops.

f-1.8

f-8

f-2.8

f-11

f-5
As you can see the background becomes less blurry as the f-stop increases.
How to Control Your Aperture
So unfortunately if you are shooting in full auto mode you cannot control your aperture setting. However, you can use one of the semi-automatic modes call Aperture Priority. Its either noted as A or Av on your DLSR. When shooting in Aperture priority mode you will have control over the Aperture and ISO, while the camera will control everything else. If you want to learn more about that you can click below.
How to Shoot in Aperture Priority Mode
The next post in this 3-part series will be learning about ISO!
Join my Photography 101 Facebook Group to Learn More!