
How to Shoot Your Own Flat Lays
Shooting your own content can seem daunting. And at times you may hire a photographer to shoot for you, or you may just purchase stock photography. However, you CAN shoot your own flat lays at home with these simple tricks.
What you need:
1) Tripod
2) Two (2) foamcore boards or you can use one (1) posterboard and one (1) foamcore board (can be found at Staples or any craft store)
3) Camera
4) Props
5) Available Window Light
The first thing is to find a window that has lots of light. The images below were taken in the morning at my house, when the sun wasn’t directly shining through but still very bright. If you shoot in the midday or in afternoon sun you may run into lighting that is too harsh.
So for my set up, I used one (1) posterboard and one (1) foamcore board. You can use two (2) foamcore boards but you need at least one (1) for reflecting light. Here is placed my posterboard on the ground and leaned my foamcore board up against a stool to reflect the incoming light.
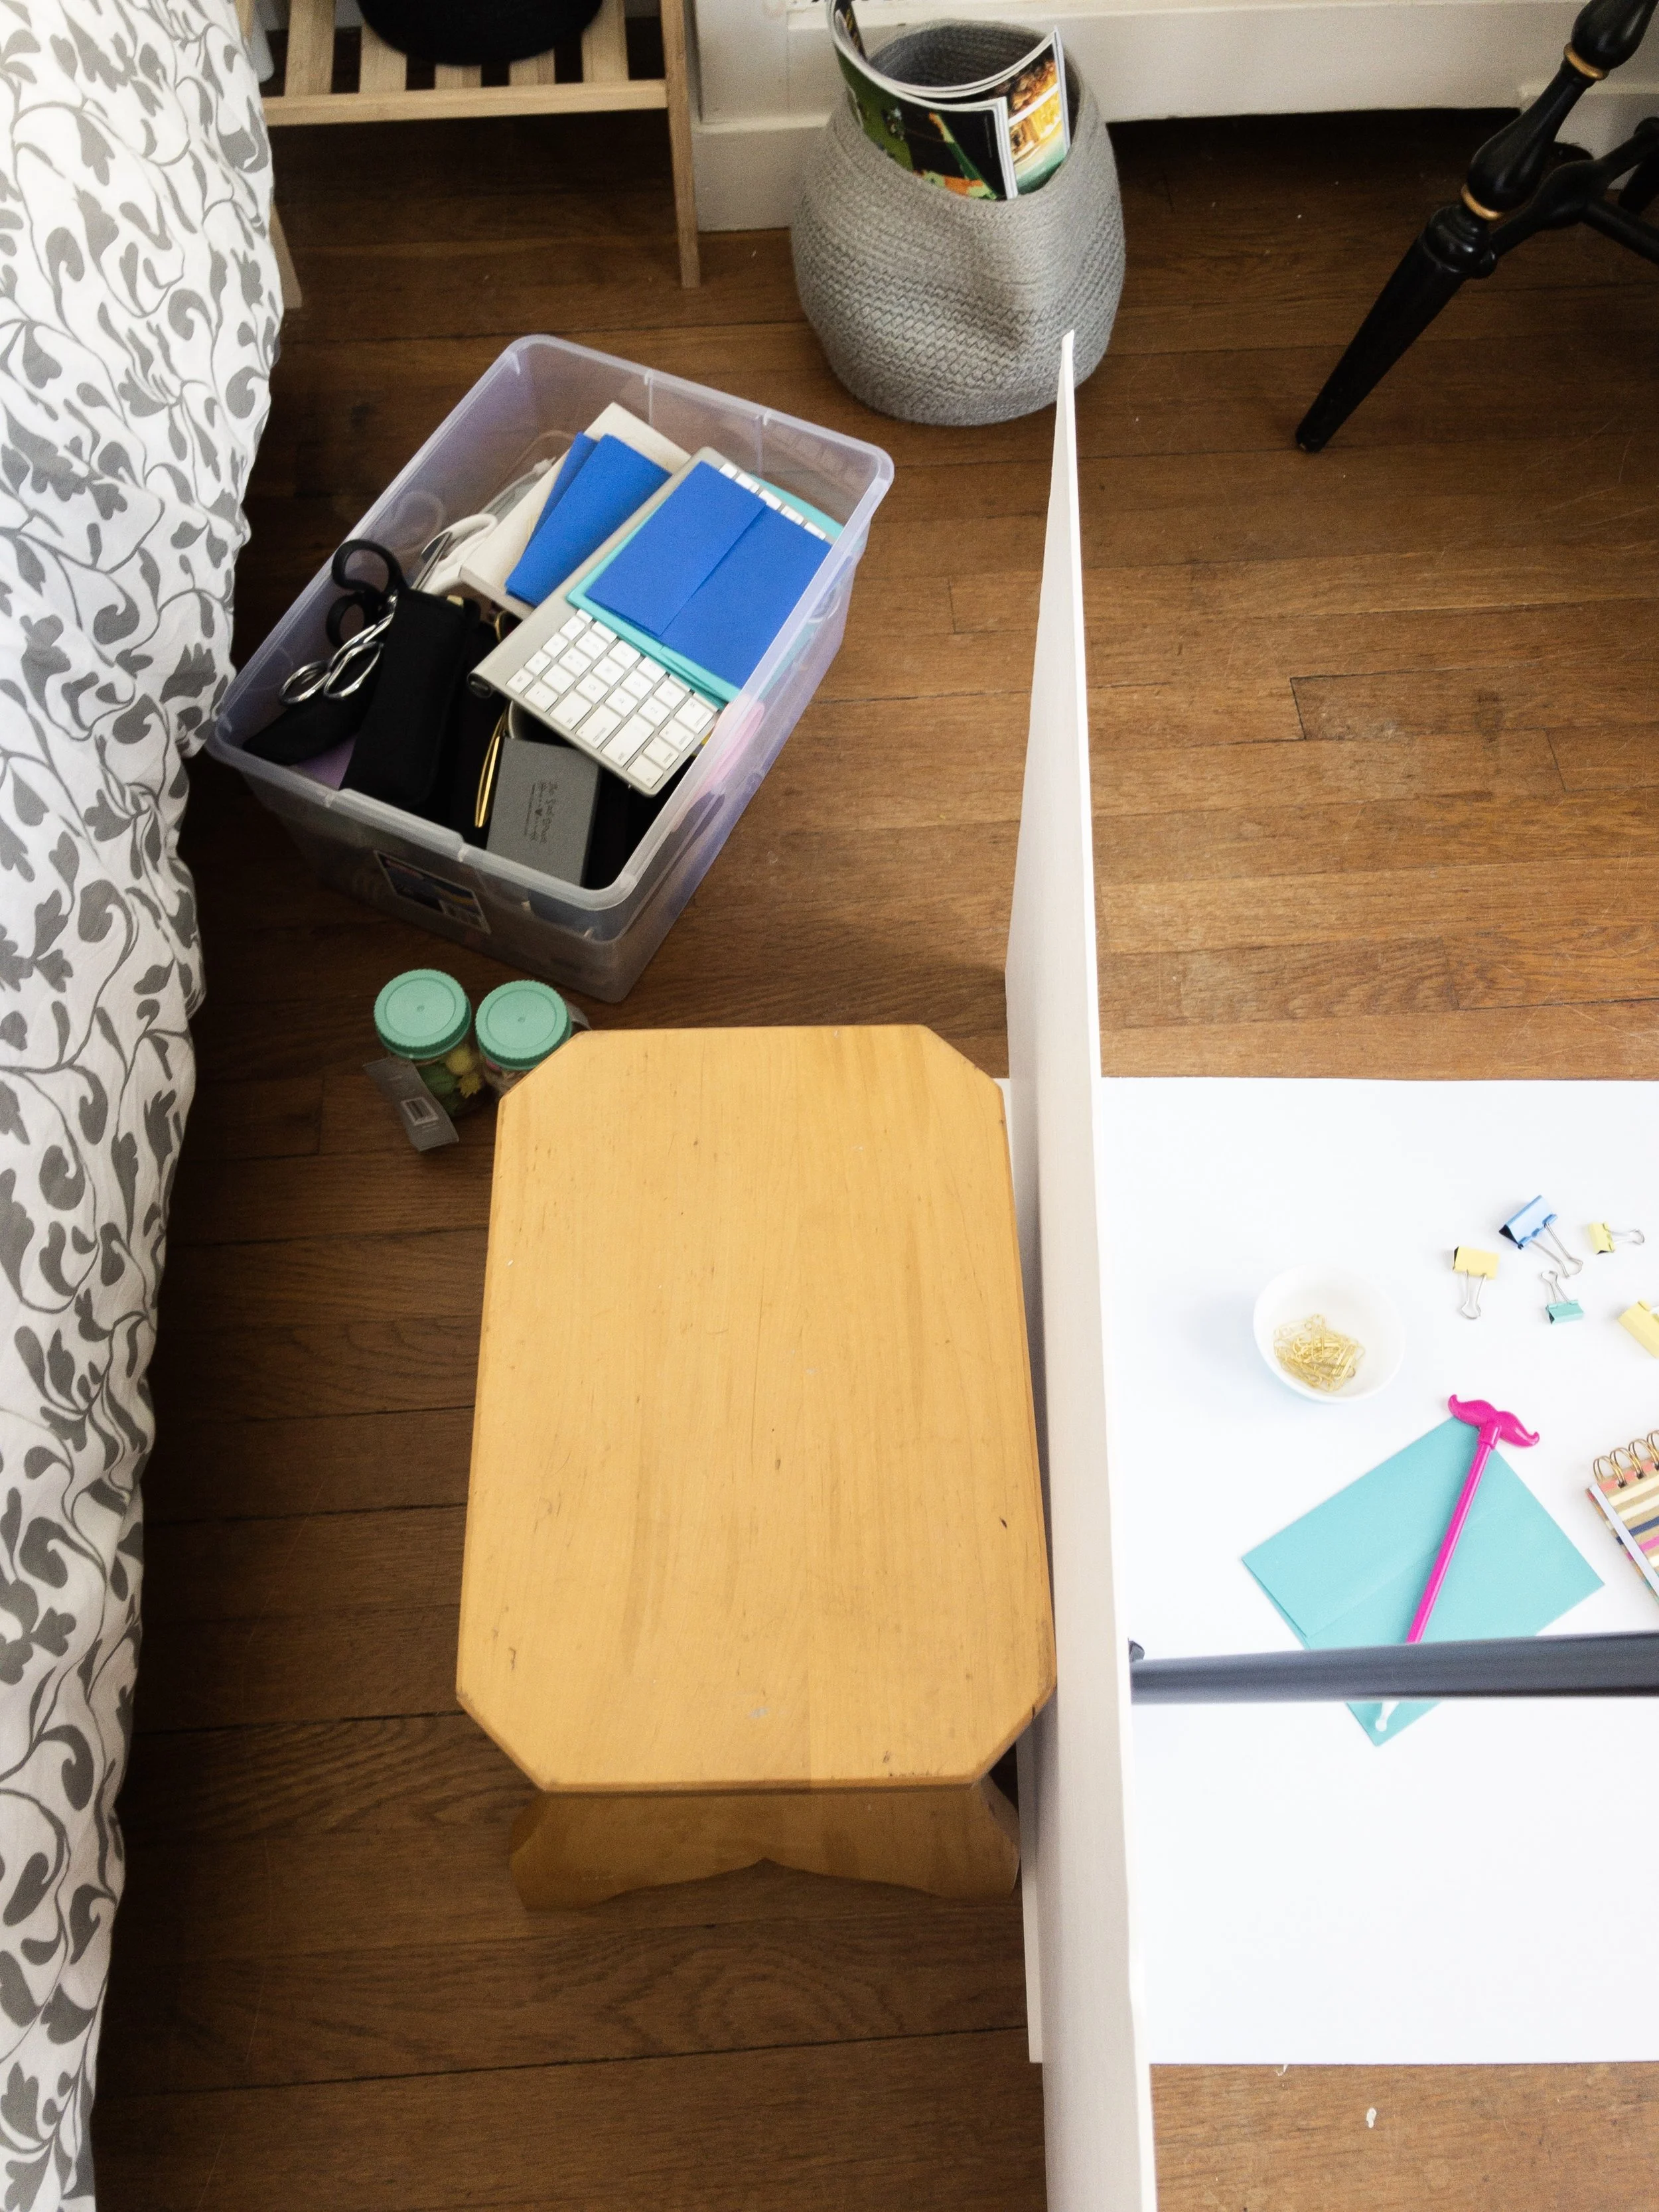
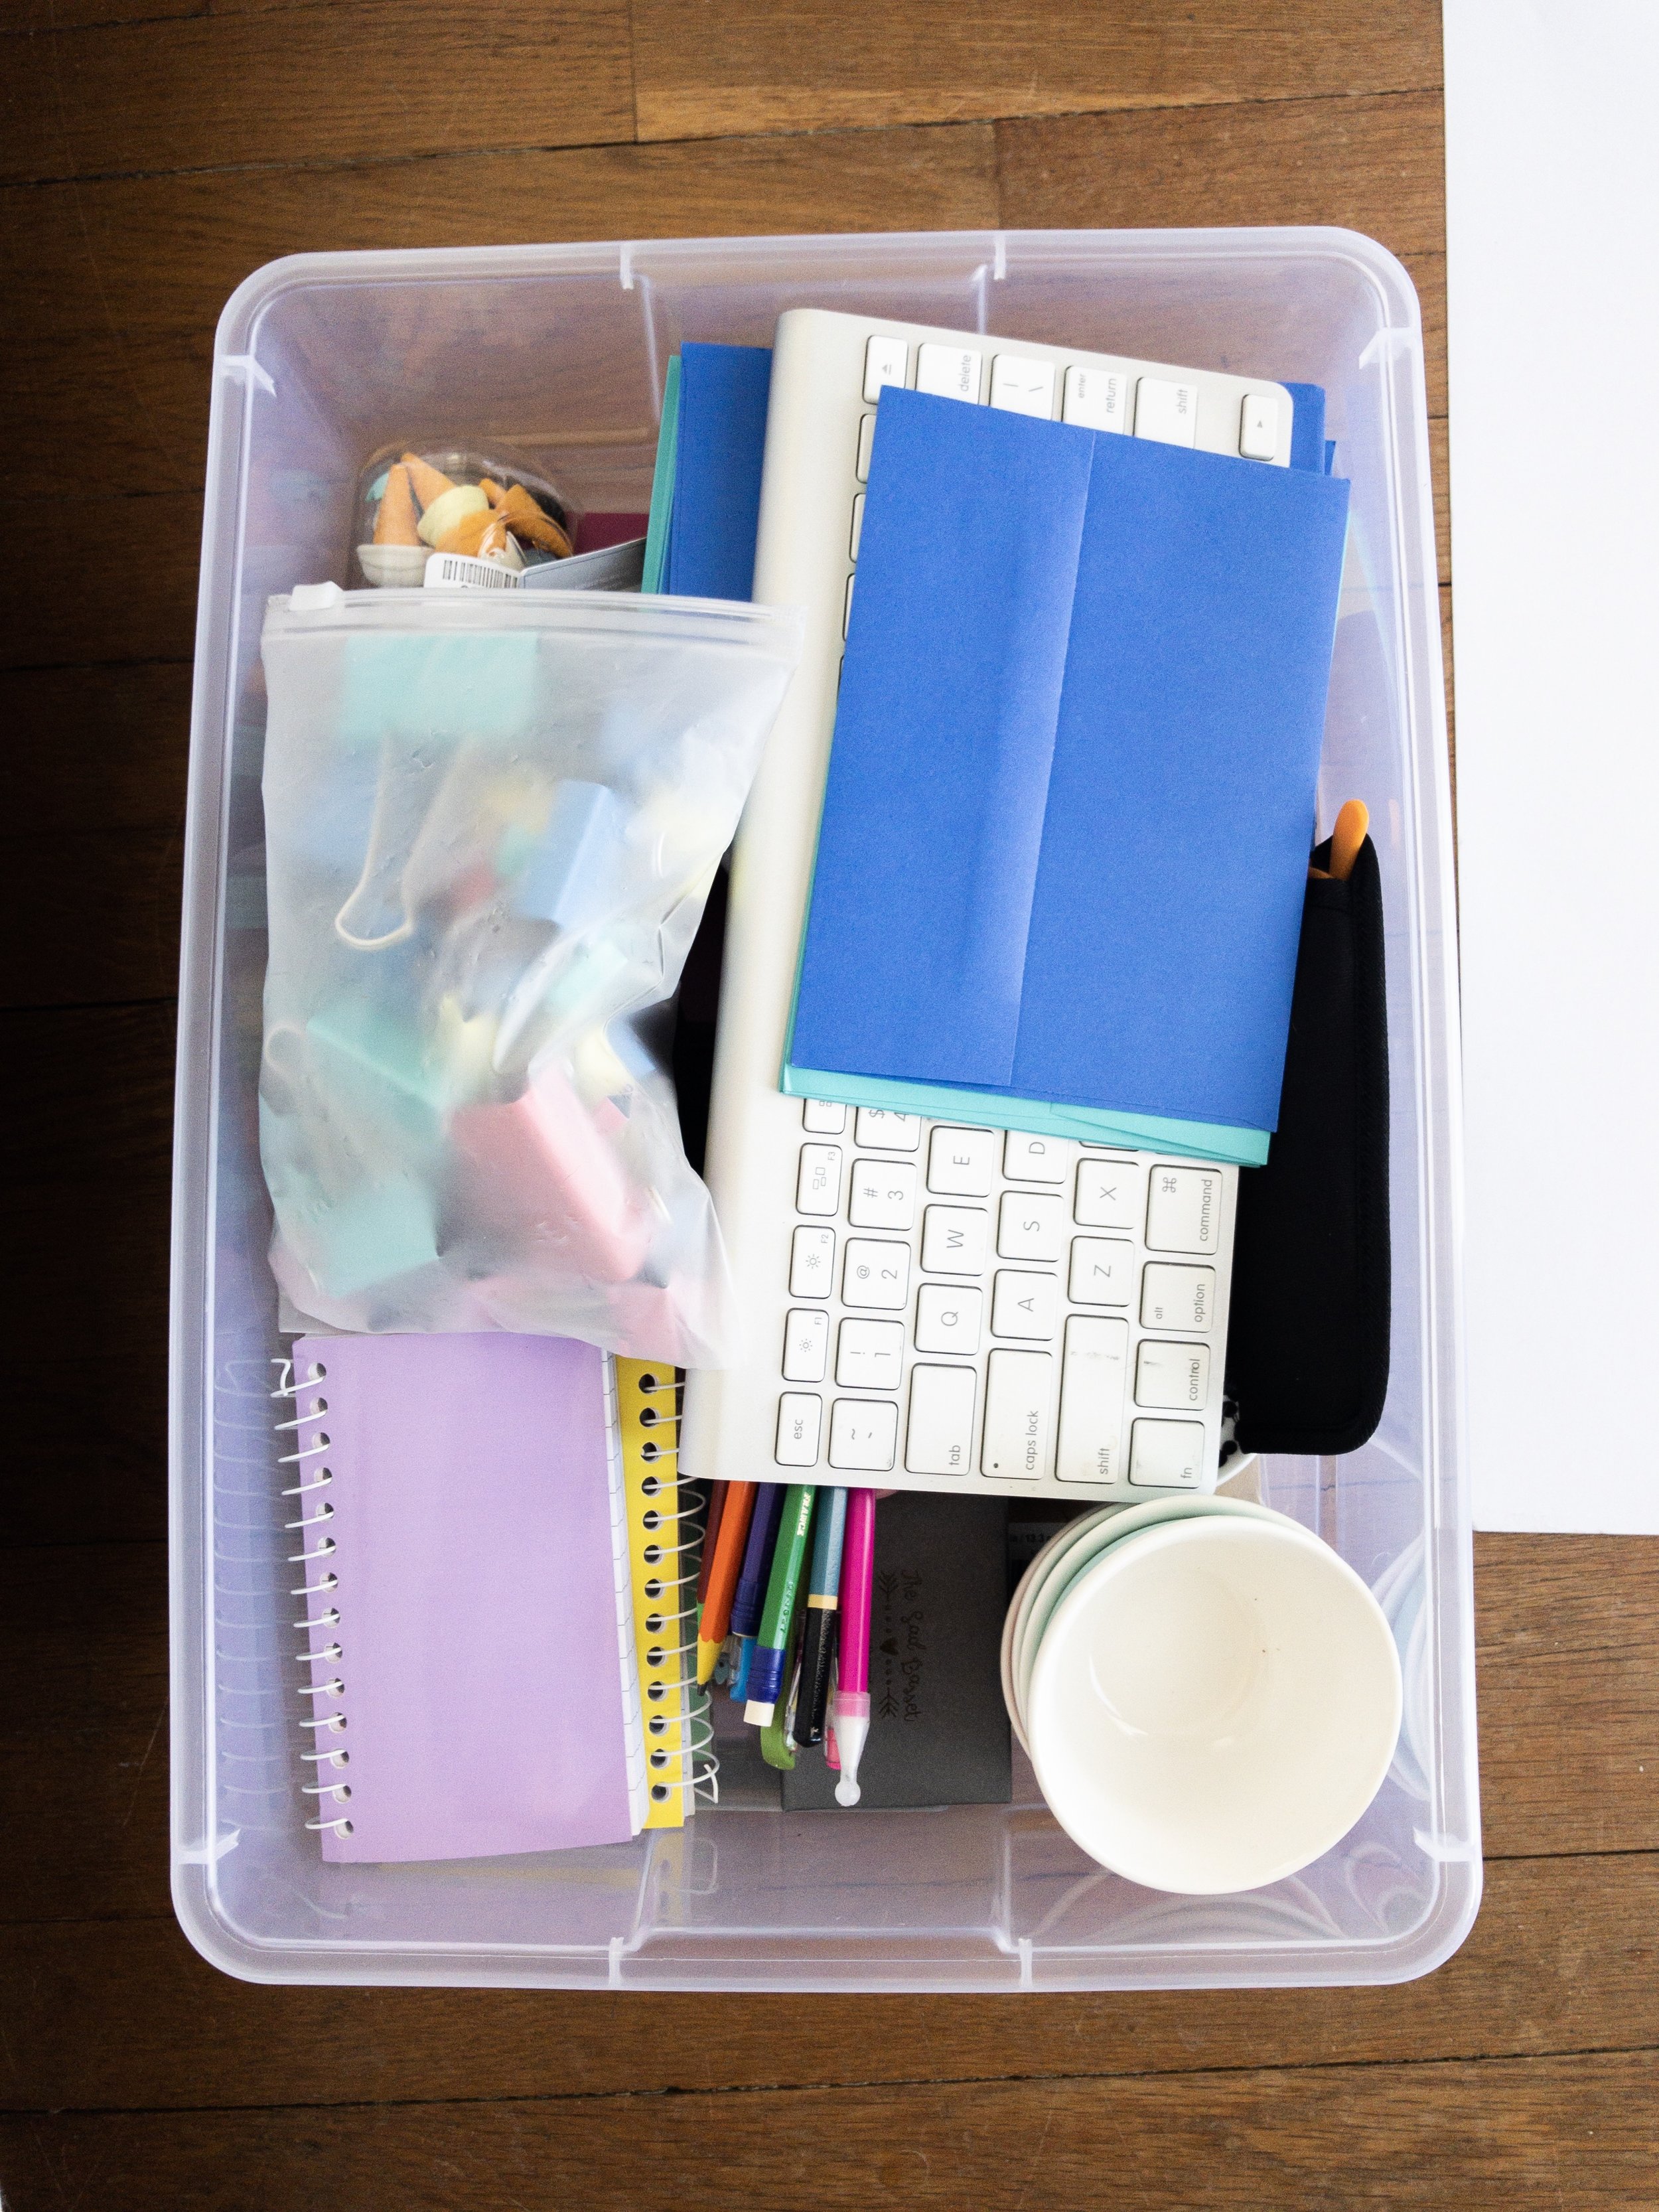
I then went through my box of props and decided on a stationary theme.
Then placed my tripod over the boards like this. My tripod has the ability to tilt at the top so it leans over the boards. Yours may not do that but it should have the ability to look down.
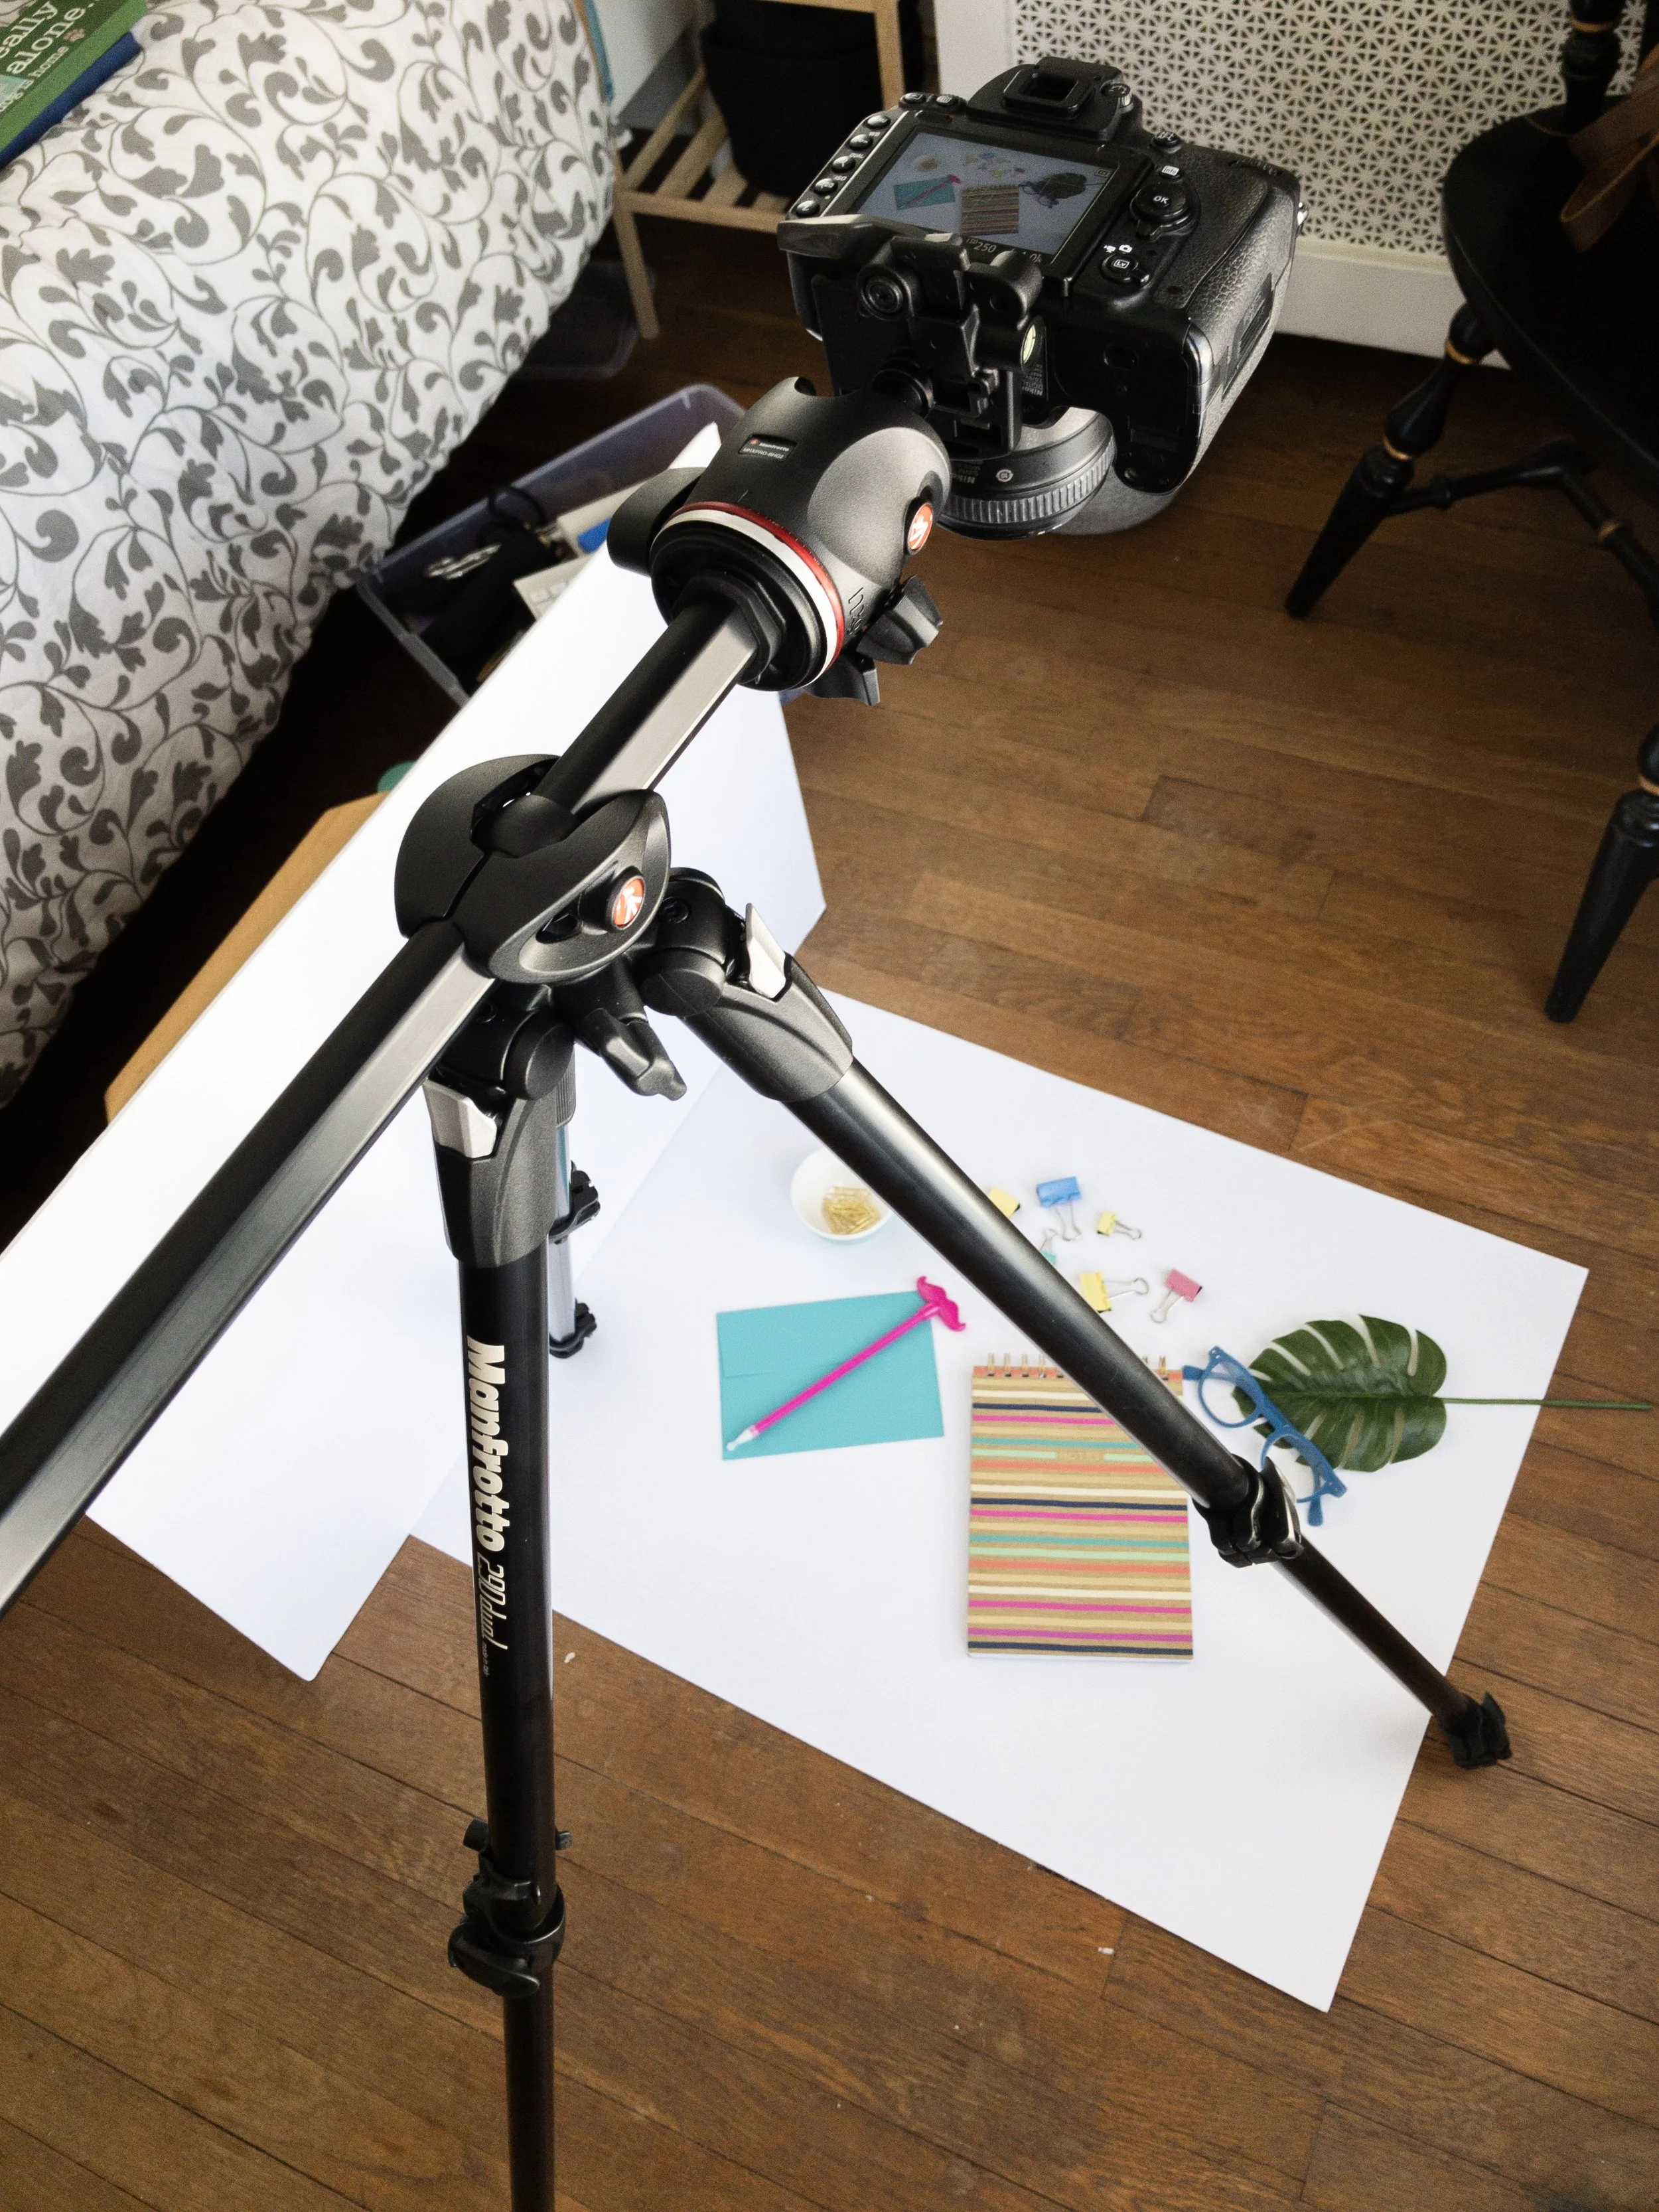
Make sure its level and flat to the board.
You can already see how even the lighting and using the foamcore board as a reflector is one easy way to soften shadows and create more even light.
The next step is to get your settings correct in the camera.

Here you can see my settings. Because I wanted to make sure everything was pretty sharp in my image, I start off with keeping my ISO low. Here you can see it is at 200. Then I adjust my aperture to 6.3 so I have a good amount of depth of field (not too shallow, so more stuff is in focus). Then, my meter was telling me that I needed to adjust my shutter speed to 1/40th of a second. Which is WHY I need the tripod. Without it, the shutter speed would be way too slow and I would get camera shake.
IF YOU DON’T HAVE A TRIPOD - thats okay - just increase your ISO until you get the correct exposure. Keep in mind however, that increasing your ISO will result in a higher amount of noise in the image.
After getting my settings where I wanted them, I realized I wasn’t quite happy with my composition. So I adjusted a few things.
TIP: Add in texture and stack elements. Here is added a magazine under the notebook for interest and more color.
Besides adding the magazine, I also adjusted the placement of the leaf and glasses and then added the post-it notes on the bottom left to fill in a gap. Here you can also see how I’m using the full of thirds with my grid. The leaf and circular bowl meet up at intersecting pints and the mustache pen and envelope also follow that same line. Its not perfect but its pretty well balanced and interesting.

After taking the shot and editing, here is the final image.

I wanted to show you another way to style photos that is less ‘bright’ and perhaps more on the less-vibrant side.

Here I added a blue posterboard (purchased from a local art store) and keep my colors within the black/gold theme. I added in the plant for a bit of interest.

Again my settings are on the back of the camera at ISO 200, f 6.3 and shutter speed of 1/20. After some minor editing, here is the final image.

If you want to keep updated on tips and tricks, feel free to sign up for my email list!